Table of Contents
Hello World – WPF Tutorials Step by Step- 1
From today I will upload WPF tutorials step by step gradually. So who ever wants to learn WPF from scratch or I can say from Beginning to Intermediate or Advance, one can follow this blog.
Today I will cover how we can setup project in WPF and explain basic folder structure of WPF project. In Prerequisite we would require Visual Studio 2013 with Framework 4. You could also download Visual Studio 2013 Express windows version from here. Follow below steps to setup new project
Step 1: Start Visual Studio and Click on New Project
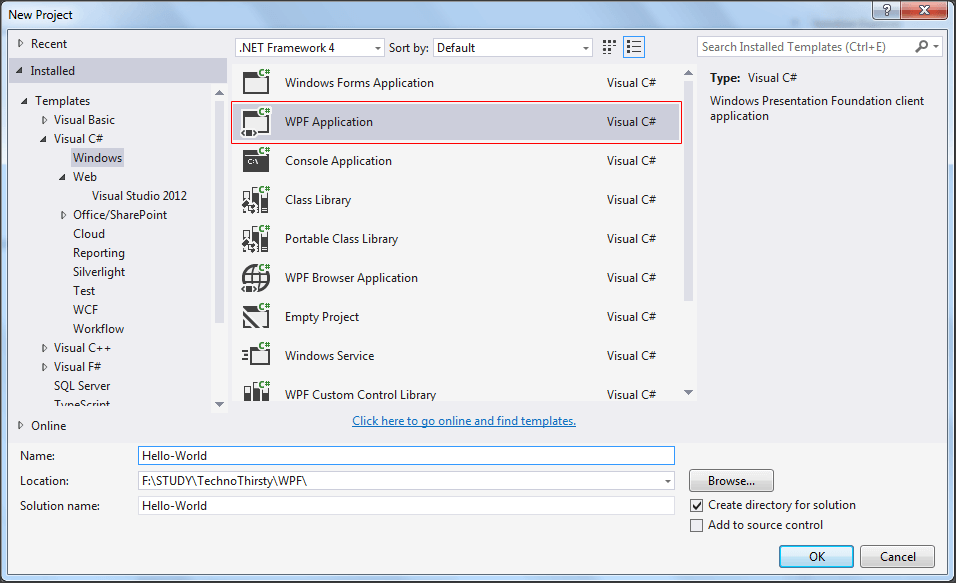
Step 2 : Would have below landing window
Step 3: Solution Explorer
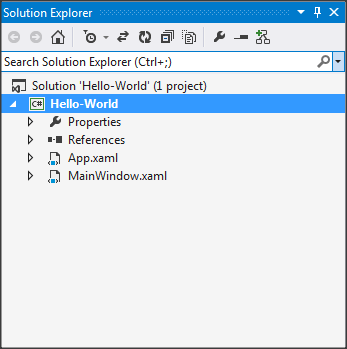
As per the architecture of project is there is App.xaml, which contains details of landing page and other UI related general settings like we are used to do in css files in web applications.
Step 4: MainWindow.xaml
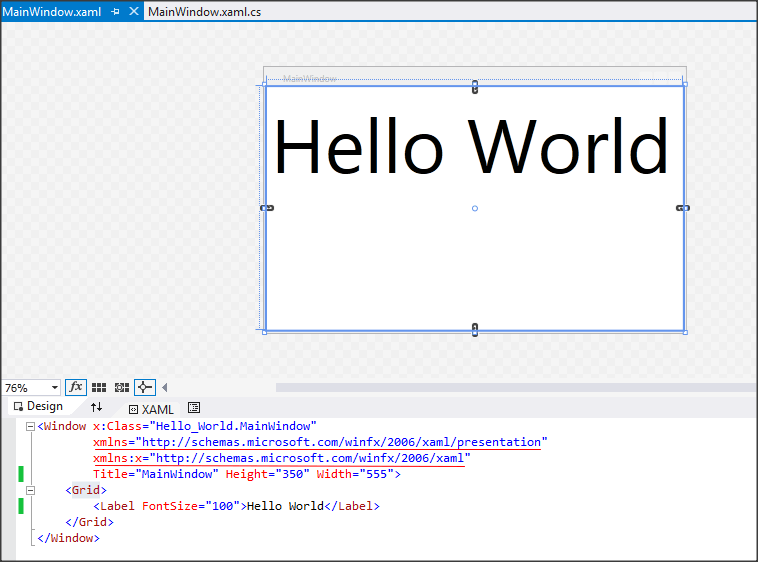
xmlns=”http://schemas.microsoft.com/winfx/2006/xaml/presentation”
xmlns:x=”http://schemas.microsoft.com/winfx/2006/xaml”
The first declaration maps the overall WPF client / framework XAML namespace as the default and second declaration maps a separate XAML namespace, mapping it (typically) to the x: prefix
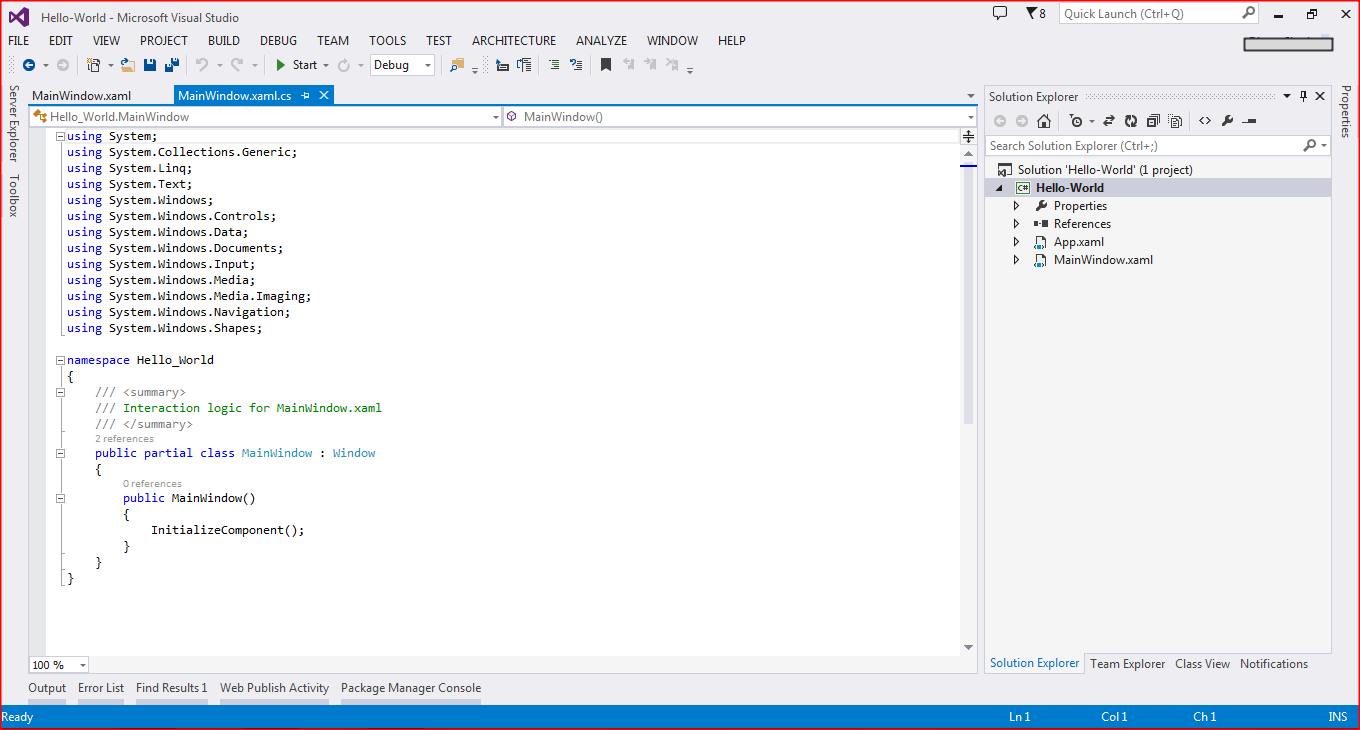
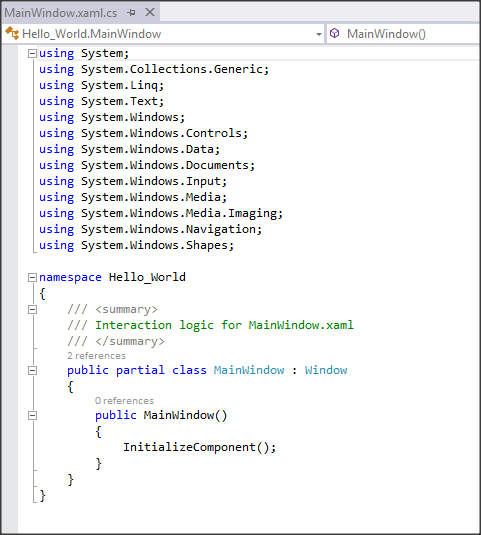
Step 5: MainWindow.xaml.cs
Advantages with WPF are as below:
- Data Binding
- UI customization
- Separation between UI and Logic
- Easier implementation of MVVM pattern
- Plenty no of controls available to achieve different functionality
- Could run on Browser as well